|
Bezier Curves
|   |
|
Bezier Curves
| |
Curves are fully customizable using 4 points. Like many other objects, curves use a brush and pen.
The curve can be edited in the properties window by defining the four following coordinates:
|
PROPERTY REFERENCE |
|
|
Start Point |
This represents where you want the curve to start. To select a start point, you can either enter in the coordinates (see coordinate plane for more information about these coordinates) or you can click the |
|
First Control Point |
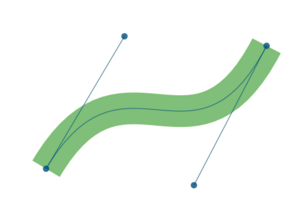
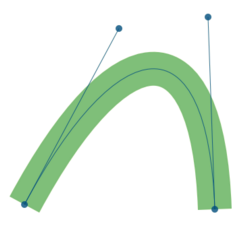
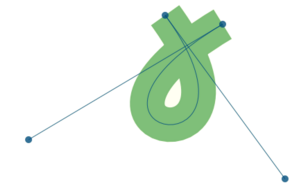
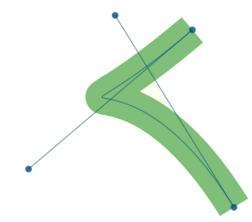
The control points are not necessarily on the curve, but they do help shape the curve. See the examples below that show how the control points are involved. Select the first control point as you would select the start point, described above. |
|
Second Control Point |
Select the second control point as you would select the start point, described above. |
|
End Point |
This is the point where you want your curve to end. Select it the same way as you would select your start point, described above. |
Here are some examples of curves with the 4 points illustrated. The control points are the outlying points with the lines drawn to them that are not part of the curve. The curve itself is highlighted in green.

You can also use curves in your path objects to create gauge outlines like the one shown below:
